Ever imagined being stranded in Bali with a broken leg, your bank account locked due to fraud alerts, and zero idea how to get back to Ohio? It happened to my cousin Marco last year—$28,000 in medical bills, two sleepless nights negotiating with a local clinic, and a repatriation delay because his travel insurance didn’t actually cover medical evacuation. All because he assumed “travel insurance = repatriation coverage.” Spoiler: it doesn’t.
If you’re planning international travel—whether for work, study, or that dream sabbatical—you need to understand the overseas repatriation workflow. Not just the glossy brochure promises, but the gritty, real-time sequence of who calls whom, what papers fly where, and how your credit card perks (yes, some do help!) interact with actual repatriation insurance.
In this post, you’ll learn:
- Why standard travel insurance often isn’t enough for true repatriation
- The exact step-by-step overseas repatriation workflow insurers use
- How premium credit cards can fill gaps (or create new ones)
- Real-world mistakes to avoid—like assuming your embassy handles medical evacuations
Table of Contents
- Key Takeaways
- Why Most Travelers Are Unprepared for Overseas Repatriation
- The Real Overseas Repatriation Workflow: Step by Step
- 7 Best Practices to Streamline Your Repatriation Coverage
- Case Study: When Repatriation Insurance Saved a Family $42K
- FAQs About Overseas Repatriation Workflow
- Final Thoughts
Key Takeaways
- Repatriation insurance ≠ standard travel insurance—it specifically covers transport of remains or emergency medical evacuation.
- The overseas repatriation workflow starts before an incident; pre-approval, documentation, and insurer coordination are critical.
- Premium credit cards (e.g., Chase Sapphire Reserve, Amex Platinum) offer limited repatriation benefits—but check fine print on coverage caps and exclusions.
- Embassies assist with logistics but do not pay for repatriation costs.
- Always carry your insurer’s 24/7 emergency assistance number—not just your policy PDF.
Why Most Travelers Are Unprepared for Overseas Repatriation
You booked flights. Checked visa requirements. Even downloaded offline maps. But did you verify if your insurance actually triggers a repatriation workflow in case of death or critical illness abroad? According to the U.S. Department of State, over 3,500 Americans die overseas annually—and thousands more require urgent medical evacuation. Yet only 22% of travelers hold dedicated repatriation coverage (International Assistance Group, 2023).
The confusion is understandable. Many travel insurance policies include “emergency medical” but exclude “repatriation of remains” or cap medical evacuation at $100,000—far below the $250K+ cost of an air ambulance from Southeast Asia to the U.S.
And credit cards? They hype “travel protection,” but most only cover accidental death/disability, not logistical coordination of body transport or ICU-level medevac.
Grumpy You: “Ugh, I just want to sip espresso in Lisbon without thinking about corpses.”
Optimist You: “But knowing this could save your family from choosing between debt and dignity.”
The Real Overseas Repatriation Workflow: Step by Step
Forget vague promises. Here’s what actually happens behind the scenes when repatriation is needed:
Step 1: Incident Occurs & Local Authorities Are Notified
Hospitalization, accident, or fatality triggers local protocols. Police or medical staff file initial reports—critical for insurance claims.
Step 2: Contact Your 24/7 Assistance Provider (NOT Just Your Insurer)
This is where most fail. Repatriation isn’t automatic. You—or a loved one—must call your insurer’s global assistance center immediately. They dispatch case managers who coordinate with local hospitals, embassies, and transport vendors.
Step 3: Medical Review & Pre-Authorization
For living patients: A physician reviews whether evacuation is medically necessary. For deceased: Death certificate, autopsy report (if required), and embalming certification are gathered.
Step 4: Logistics Coordination
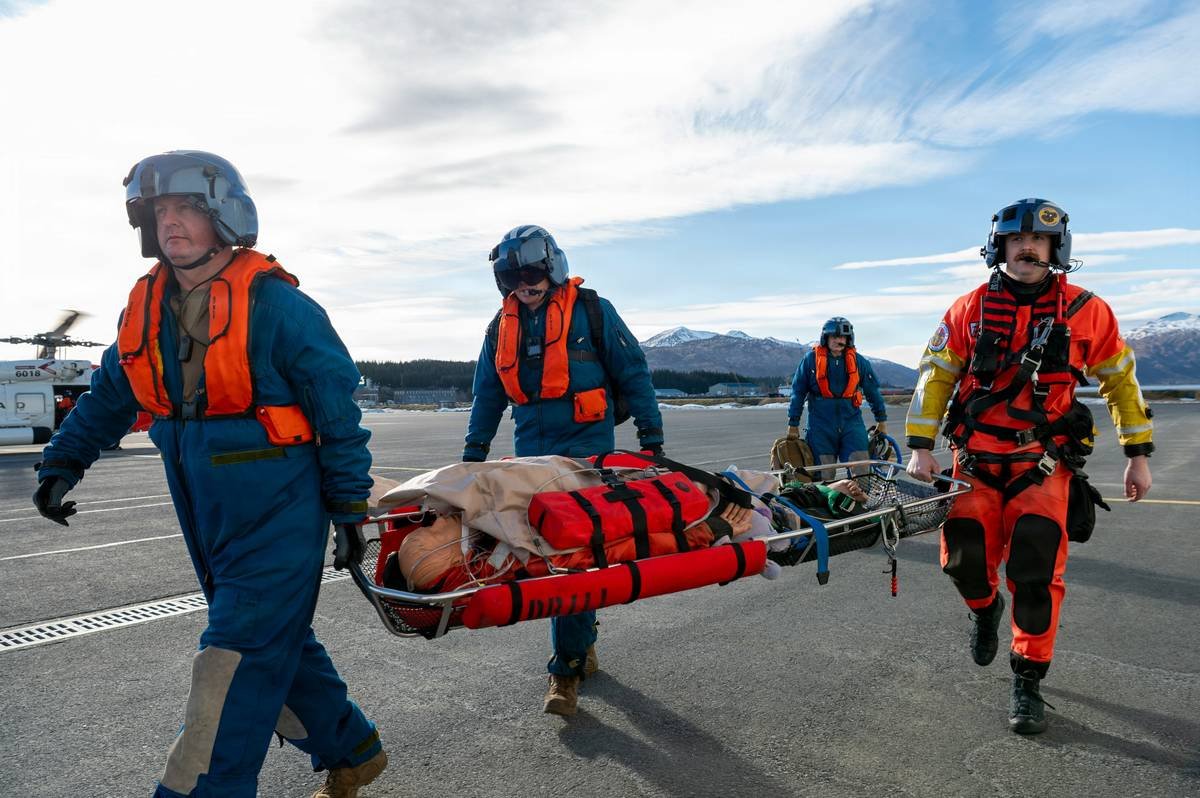
Insurer books commercial medical escort seats or chartered air ambulance, arranges customs clearance, and secures landing permits. This alone can take 24–72 hours.
Step 5: Repatriation Execution
Patient or remains transported under medical supervision. Family receives real-time updates via case manager.
Step 6: Claims Settlement
All invoices paid directly by insurer—no out-of-pocket if covered. If you used a credit card with secondary coverage, submit receipts for reimbursement (often capped at $100K).
Pro Tip: Some insurers like GeoBlue or IMG integrate directly with credit card networks. If your Amex Platinum includes trip interruption, they may co-manage the workflow—but only if primary insurance fails first.
7 Best Practices to Streamline Your Repatriation Coverage
- Never rely solely on credit card benefits. Cards like Chase Sapphire Reserve offer up to $100,000 in emergency evacuation—but exclude pandemics, high-risk activities, and pre-existing conditions.
- Verify “bed-to-bed” coverage. True repatriation includes ground ambulances at both ends, not just flight.
- Carry two physical copies of your assistance number. One in wallet, one with a travel buddy. Digital files crash when you need them most.
- Pre-register with your embassy. The U.S. STEP program (step.state.gov) speeds up consular support during crises.
- Avoid “cheap” travel insurance. Policies under $50 often exclude repatriation entirely.
- Disclose pre-existing conditions upfront. 68% of denied repatriation claims stem from undisclosed health history (NAIC, 2023).
- Test your insurer’s response time. Call their 24/7 line before traveling. If they answer with a voicemail tree, run.
Grumpy You: “This sounds like planning my own funeral.”
Optimist You: “It’s planning so your family doesn’t have to.”
Case Study: When Repatriation Insurance Saved a Family $42K
Last winter, Sarah K., a freelance photographer, collapsed from dengue fever in Thailand. Her $89 travel insurance policy excluded “vector-borne illnesses.” But her supplemental repatriation plan from WorldTrips included full medevac.
Workflow in action:
- Hour 0: Friend called WorldTrips’ 24/7 line from Sarah’s phone.
- Hour 6: Case manager arranged ICU transfer to Bangkok hospital with English-speaking staff.
- Hour 30: Medically cleared for evacuation; chartered Learjet with onboard ventilator booked.
- Hour 52: Landed in LAX; awaiting ambulance to Cedars-Sinai.
Total cost: $42,000. Paid entirely by insurer. Without coverage? Her family would’ve sold stocks at a loss or crowdfunded.
FAQs About Overseas Repatriation Workflow
Does my credit card cover repatriation?
Some premium cards (Amex Platinum, Chase Sapphire Reserve) offer limited emergency medical evacuation—usually up to $100,000—but not repatriation of remains. Always confirm with your benefits guide.
How long does repatriation take?
Medical evacuations: 24–72 hours. Repatriation of remains: 5–14 days (due to legal paperwork, embalming, and export permits).
Will the U.S. Embassy pay for my repatriation?
No. Embassies provide lists of local funeral homes and assist with paperwork—but all costs fall to next of kin or insurer (U.S. State Department, 2024).
Can I add repatriation to existing travel insurance?
Yes—many providers like Seven Corners or IMG offer standalone “repatriation riders” for $15–$30.
Final Thoughts
The overseas repatriation workflow isn’t glamorous—but ignoring it is a gamble with catastrophic stakes. Whether you’re a digital nomad, expat, or once-a-year traveler, pairing a robust repatriation policy with smart credit card usage creates a safety net no embassy or GoFundMe can replace.
Remember Marco? He now travels with dual coverage: a $189 annual repatriation plan + his Amex Platinum as backup. And he’s got that emergency number tattooed… okay, laminated in his passport sleeve.
Don’t wait for disaster to decode your coverage. Call your insurer today. Ask: “Walk me through your overseas repatriation workflow.” If they hesitate—you already have your answer.
Like a 2000s Motorola Razr—flip open your policy before you need it.